TNT Mining How to Train TNT Damage
Click fast, stand on better spots after Rebirths, and let pets multiply every tick.
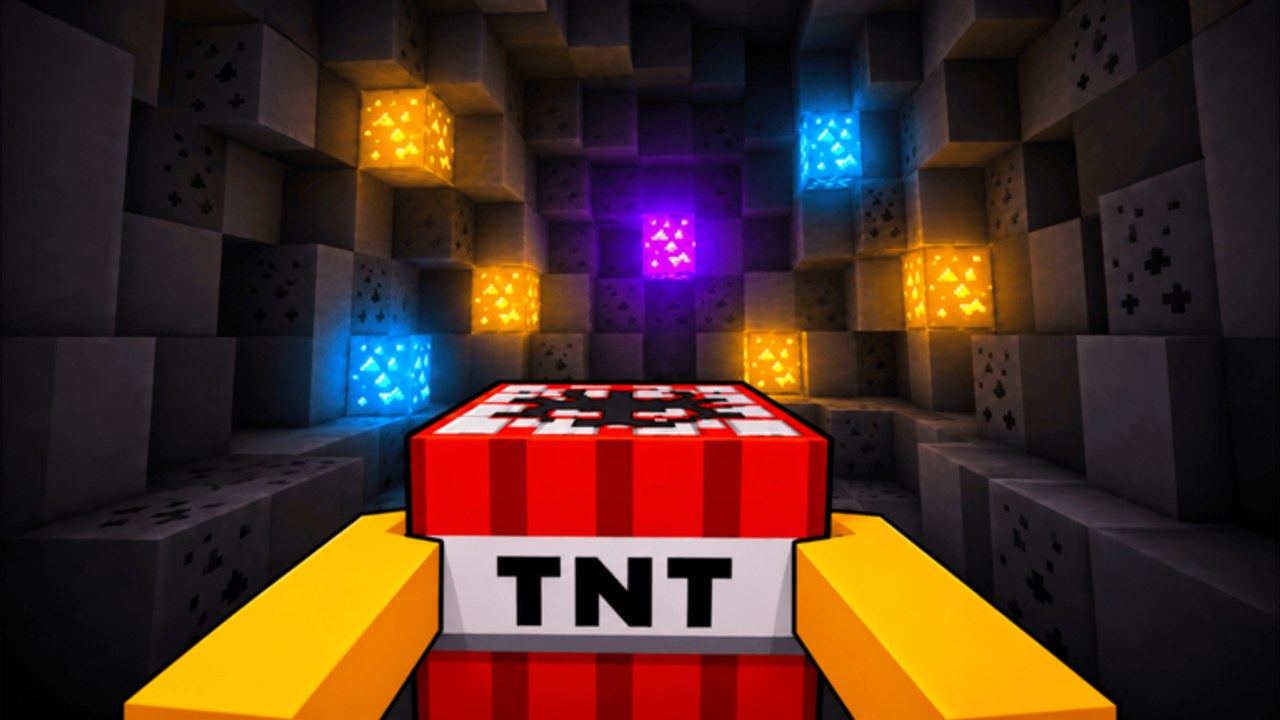
Damage training is the heartbeat of +1 TNT Mining. Higher Damage means wider explosions, more blocks per fuse, and faster Cash after you sell. This guide compares manual clicking with the AFK Training area, explains how Rebirth unlocks stronger spots, and shows how pets and TNT shop tiers multiply the time you invest.
Two ways to train
Manual clicking
Equip TNT and rapidly press Left Mouse Button (or the mobile/console equivalent). Manual training is the faster Damage-per-minute method when you can focus. It is also tiring — long click marathons burn out most players. Use click bursts when:
- You just Rebirthed and need a quick rebuild before a mining run.
- You are about to attempt a tough Cash gate and want one oversized blast.
- You have a short play window and must convert attention into Damage now.
Training area (AFK-friendly)
Walk to the Training area and stand near the highlighted spots. Damage rises automatically without click spam. Gain per second is lower than focused clicking, but you can multitask or idle. After Rebirths, additional spots open with better multipliers. Community and guide naming commonly tracks zones in a progression like Dirt → Stone → Cactus → Silver → Gold → Ruby. Stand on the best spot you have unlocked; weaker spots waste AFK time.
Mix both modes in a normal session: click when you are active at the keyboard, park on a Training spot when you step away.
Rebirth unlocks better training
Rebirth does two training-relevant things:
- Permanent Damage gain rate multipliers apply to clicks and AFK ticks.
- Higher Training spots become available after enough Rebirths, raising the baseline of AFK training.
That is why skipping Rebirth to “protect” a big Damage number backfires. You keep Cash and TNT unlocks anyway; what you delay is gain rate and access to Ruby-tier style spots. Full reset rules live on the Rebirth page.
Pets multiply training
Pets hatched from eggs boost training gain. Their passive multiplier applies to both manual clicks and Training area ticks, so AFK players still benefit from hatching. Early pets are worth equipping even if they are not endgame legendaries — any honest gain multi shortens post-Rebirth rebuilds. Compare options on the Pets tier list and read hatch notes on Pets.
If you redeem Codes that grant pet eggs or training boosts, use them before a long AFK stand so the buff covers the whole session.
Training vs mining time balance
Training with zero mining earns no Cash. Mining with zero training clears tiny pockets. A practical rhythm:
- Short train (click or spot) until explosions feel satisfying for your current TNT.
- Enter the mine, place up to your placement limit, ignite with flint, collect.
- Sell in the lobby.
- Buy TNT or upgrades if a breakpoint is affordable.
- Repeat; insert a Rebirth whenever the level gate opens.
Movement speed and collection range upgrades reduce the downtime between blasts so more of your session stays productive. Carry capacity and placement limit determine how much each trip is worth once Damage is already high.
TNT shop synergy
Trained Damage carries across TNT types. Buying a pricier stick adds a much higher base Damage on top of that trained total. Training a weak stick for an hour then refusing to buy the next shop tier leaves free power on the table. Check the TNT Blocks tier list before long grind sessions so you know which unlock is the real breakpoint.
Conversely, buying a top stick with almost no trained Damage underuses the purchase. After any big shop buy, spend a few minutes training so the new base and your trained total meet in the middle.
Platform tips
- PC: Number keys swap TNT and flint quickly; bind attention to LMB cadence during click trains.
- Mobile: Use Training spots more often to spare your hands; short tap bursts still help after Rebirth.
- Console: Prefer AFK spots during party chat; click-analog bursts when farming a Cash gate.
See Controls for the full input map (WASD, Space, E, number keys, LMB).
Advanced habits
- Always confirm you are on the highest Training spot unlocked after a Rebirth before AFK.
- Pair Area Mine Luck upgrades with high Damage when farming rare blocks in new zones (Unlock Areas).
- Watch Updates for training balance changes or new spots.
- Do not rely on Scripts as a required path; account safety matters more than perfect click rates.
- Return to Getting Started if you still stumble on place → flint → sell order.
- Browse the Guides Hub, Tier List, Players, and Links for related systems.
Example session plan
Fifteen-minute active session: 3 minutes click train → 8 minutes mine/sell loops → 2 minutes upgrade or TNT shop → 2 minutes park on Training spot if you must leave early.
One-hour session with one Rebirth: Train to level gate → Rebirth immediately → pet check → best Training spot rebuild → strongest TNT mining route → Cash toward next black-wall unlock.
Overnight-friendly approach: Equip best pet, stand on best AFK spot, accept slower gains, mine heavily when you return.
Consistent training discipline beats occasional mega click sessions. Permanent gain-rate from Rebirth plus pets plus premium Training spots is the intended scaling curve Slap Core Games built into TNT Mining.
Frequently Asked Questions
Quick answers to the most common questions.
Is clicking faster than the Training area?
Yes. Manual clicking yields Damage faster but needs active play. Training spots are slower and AFK-friendly.
Do pets work while I AFK train?
Yes. Pet training multipliers apply to both clicking and Training area gain.
Why unlock more Training spots?
Later spots unlocked through Rebirths offer stronger Damage gain multipliers for AFK training.
Does Damage reset when I change TNT?
No. Trained Damage carries over. New TNT adds its own base Damage on top.
When should I stop training and mine?
Mine when explosions clear satisfying volume for your current TNT, then sell and spend. Mix short trains between trips.