TNT Mining TNT Blocks Tier List
Rank starter through late-game bombs by base Damage stacking and smart Cash timing.
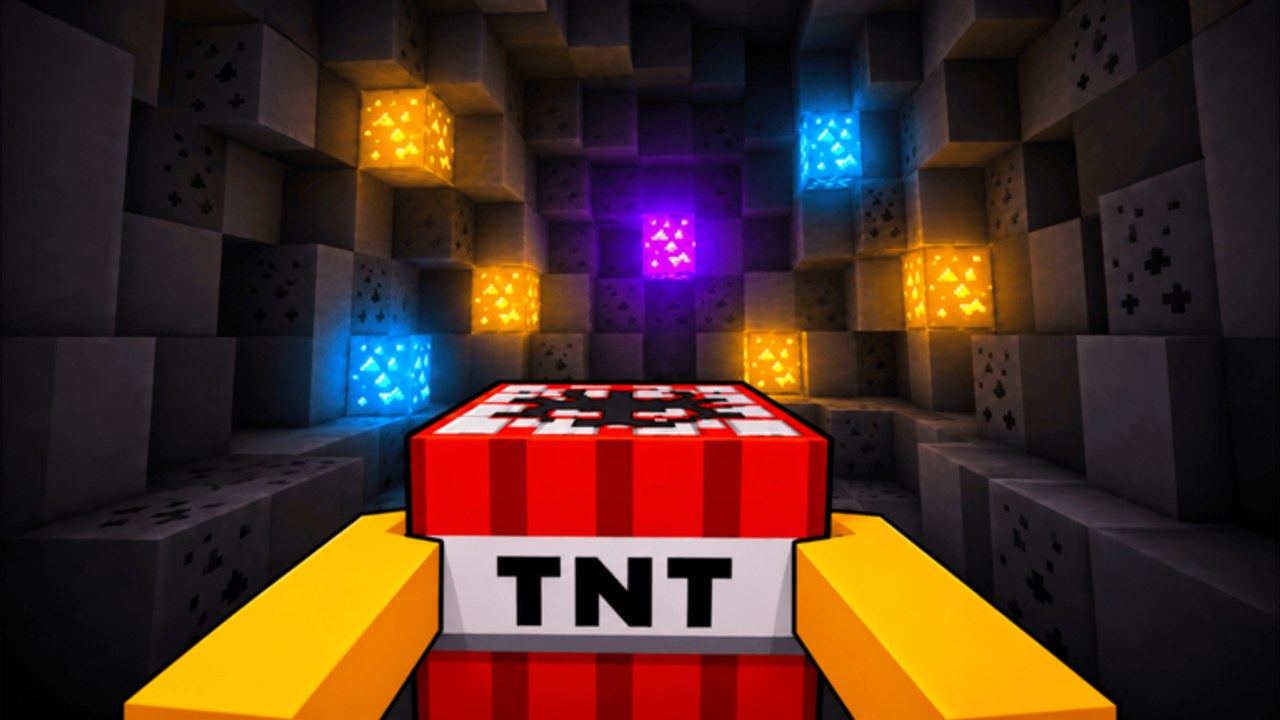
TNT choice is the loudest power spike in +1 TNT Mining by Slap Core Games. This free-to-play Roblox incremental lets you train a shared Damage stat, place bombs, ignite them with flint, collect shattered blocks, sell for Cash, and climb from Dirt into deeper Cash-unlocked areas. Every shop TNT adds its own base Damage on top of the Damage you trained. That stacking rule is the backbone of this tier list: a bomb with a huge base number multiplies the value of every click you already invested, and it stays with you through Rebirth because Rebirth keeps Cash, TNT unlocks, and upgrades while resetting only Damage and levels.
Use this page with the Tier List Hub and the Pets list. Pets speed training; TNT decides how large each blast is when you finally walk into the mine.
Ranking rules
- S-tier: Major base-Damage breakpoints. Buying these should visibly enlarge clear radius and Cash per fuse compared with your previous bomb.
- A-tier: Strong on-curve shop steps when you can afford them without stranding yourself before an area unlock or Rebirth multiplier you need.
- B-tier: Fine bridges while saving; skip if the next listed jump is close and your current blasts still clear your plot.
- C-tier: Starter or quickly outdated sticks. Keep using them only until the first real shop upgrade lands.
Exact menu names can shift after Slap Core Games patches, so ranks describe progression bands rather than inventing unverified product titles. Always compare the base Damage number in your TNT shop before spending.
S-tier — late breakpoints and flagship bases
Late-shop and end-of-track TNT belong here when their base Damage is orders of magnitude above mid-game sticks. These bombs turn deeper areas into farms instead of chores. Prioritize them once you can buy without emptying the Cash needed for the next black-wall unlock past Dirt. After purchase, do a short training burst—manual Left Mouse Button or a high-multiplier training pad unlocked through Rebirths—then test a full place-ignite-collect-sell loop. If blocks evaporate and carry fills in fewer placements, the S-tier buy was correct.
S-tier also includes any limited or milestone TNT that permanently sits at the top of the base Damage ladder. Because unlocks survive Rebirth, paying for that top stick once is better than repeatedly dumping Cash into temporary boosts.
A-tier — mid-game climbers
Mid-shop TNT with clear base jumps over early bombs land in A-tier. They are the workhorses that fund deeper areas and feed Rebirth cycles. Buy A-tier when:
- Your current blasts leave too much stone standing inside the plot you unlocked.
- Carry capacity upgrades already let you haul most of each explosion.
- The price is reachable within one or two focused mining sessions.
If an A-tier bomb costs nearly as much as the next S-tier and you are two runs away from the S-tier price, skip the bridge. Trained Damage plus an almost-affordable flagship base usually beats owning two middling sticks.
B-tier — early shop bridges
The first paid TNT above the free starter usually sits in B-tier. It teaches the stacking rule and speeds Dirt clears, but you will replace it soon. Buy it if starter blasts feel pathetic and you are not minutes from a larger base jump. Otherwise, put Cash into placement limit or carry capacity so each starter fuse wastes less motion, then leap to A-tier.
B-tier also covers side-grade bombs that raise base Damage only slightly. Slight upgrades feel good in the shop UI and play poorly in the mine. Read the number, not the model.
C-tier — starter TNT
The free or dirt-cheap starter bomb is C-tier by design. It exists so you can learn controls: number keys to equip TNT, Left Mouse Button to place, switch to flint, ignite, collect, sell. Use it to fund training and the first meaningful shop purchase. Do not sink upgrade Cash into trying to make the starter look like late-game TNT—base gaps are intentional.
When to buy the next TNT vs upgrade vs Rebirth
Buy the next TNT first when its base Damage is a large multiple of your current bomb and your blasts are the reason runs feel slow. Base stacking is unique to the TNT shop; upgrades cannot fake a missing base tier.
Upgrade first when TNT power is fine but logistics fail you. Raise carry capacity if you leave valuables on the ground, placement limit if you hike back to refill too often, speed if lobby-to-mine time dominates, collection range if post-blast cleanup is the chore, and mine luck if you are chasing higher-value drops for sell price or index progress. These upgrades survive Rebirth, same as TNT unlocks.
Rebirth first when you are soft-capped on Cash for the next area and the Rebirth button is available. Permanent Damage-gain and Cash-earn multipliers refinance trained Damage in minutes and make every future bomb stronger per minute of training. Do not overshoot the level requirement—extra levels vanish on Rebirth anyway. You keep Cash, owned TNT, and upgrades; you only reset Damage and levels.
Practical decision tree
- Can you afford a bomb whose base Damage is a clear breakpoint? Buy it.
- If not, is a logistics upgrade removing a pain you hit every run? Buy that.
- If Cash is still short for the next Dirt-to-deeper unlock, Rebirth on threshold, retrain with pets equipped, then mine again.
- Return to step 1.
Mining loop tips that make tiers matter
Place up to your placement limit, ignite with flint, sweep with collection range in mind, sell before carry caps waste drops, then either train or shop. Equip pets before training so multipliers apply to manual clicks and AFK pads. After each Rebirth, reclaim Damage quickly on the best unlocked training spot before judging whether a new TNT was worth it—fresh Damage 1 always makes bombs look weak for a minute.
Related reading
- Tier List Hub — overview and ranking philosophy
- Pets Tier List — training multipliers that refill Damage after shop buys and Rebirths
- Getting Started — full day-one loop
- Codes Hub — free Cash that can pull an A-tier or S-tier buy forward
Frequently Asked Questions
Quick answers to the most common questions.
Does trained Damage reset when I buy new TNT?
No. Trained Damage carries across TNT swaps. Each new bomb adds its base Damage on top of the Damage you already trained.
Do I lose TNT unlocks on Rebirth?
No. Rebirth keeps Cash, TNT unlocks, and upgrades. Only Damage and levels reset.
Should I buy every TNT in order?
Not always. Skip tiny base bumps if a much larger breakpoint is nearly affordable and your current blasts still clear the plot.
What upgrades pair best with high-tier TNT?
Carry capacity and placement limit first so big blasts convert into Cash, then speed, collection range, and mine luck as needed.