TNT Mining Tier List Hub
Rank TNT base Damage and pet training multipliers so every Cash spend pushes deeper mines.
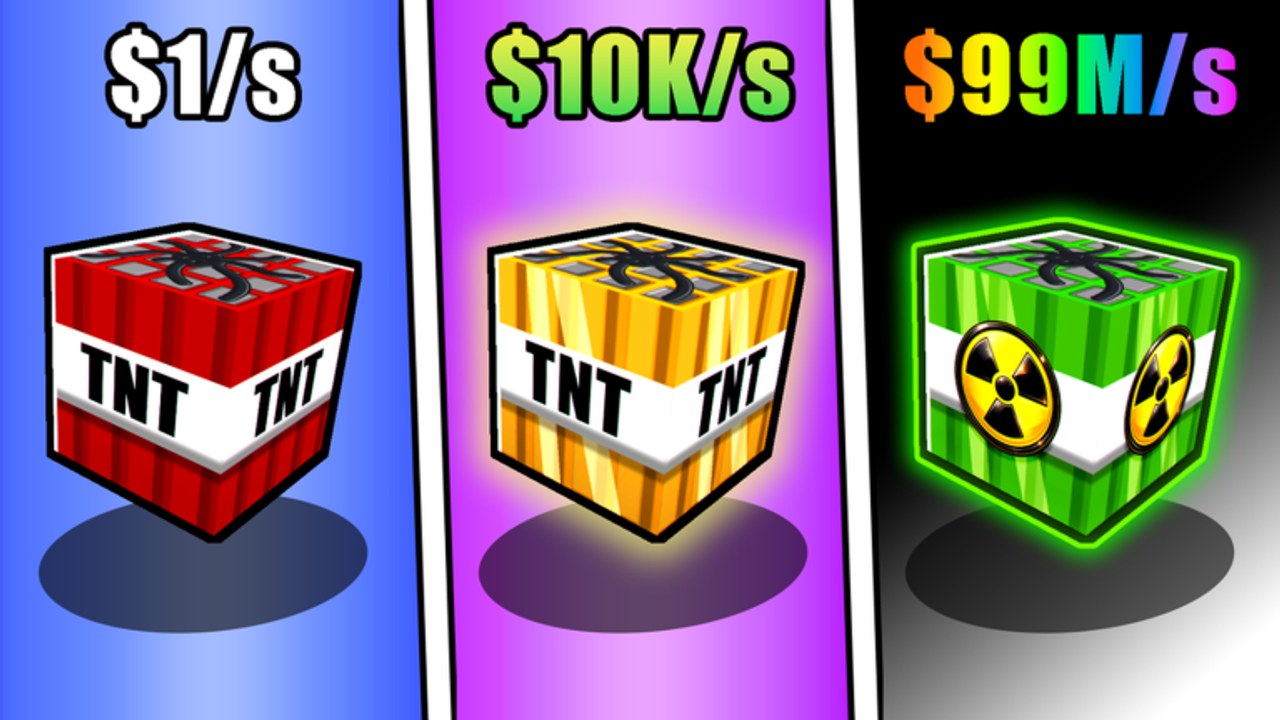
Welcome to the Tier List Hub for +1 TNT Mining, the free-to-play Roblox incremental from Slap Core Games. Rankings here focus on progression value: how fast a purchase raises effective mining Damage, Cash per run, or training speed. They are not fashion lists. In this game you train Damage, place TNT, ignite with flint, collect and sell blocks, unlock areas from Dirt into deeper Cash gates, buy upgrades (carry capacity, placement limit, speed, collection range, mine luck), equip pets that multiply training, and Rebirth to keep Cash, TNT unlocks, and upgrades while resetting Damage and levels.
Use this hub as the map, then open the child lists for full S/A/B/C guidance.
Lists in this hub
- TNT Blocks Tier List — starter through late-shop bombs ranked by base Damage stacking with trained Damage, plus buy-versus-upgrade-versus-Rebirth timing.
- Pets Tier List — egg and pet priorities for training multipliers, when to equip best pets, and when hatching beats saving Cash.
How we rank for +1 TNT Mining
S-tier picks create a step-change: a TNT whose base Damage multiplies clear size so hard that Dirt or early deep plots melt, or a pet loadout that noticeably shortens every training session before Rebirth. A-tier options are strong on-curve buys when you can afford them without delaying the next area unlock. B-tier means situational—good if you are blocked on carry or placement, weaker if you still lack a major TNT jump. C-tier covers early tools you outgrow quickly or eggs that return weak training multipliers for their price.
Trained Damage carries across TNT swaps, and each shop TNT adds its own base Damage on top. That stacking rule is why skipping two cheap bombs for one large base jump is often correct, and why Rebirth multipliers on Damage gain make later training sessions refinance the Damage you just reset.
Spending order cheat sheet
- Fix the bottleneck you feel on every run (carry capacity or placement limit before vanity speed).
- Buy the next TNT when its base Damage increase is large relative to your current blast size.
- Rebirth as soon as the level threshold appears if you need permanent Cash and Damage-gain multipliers for the next area.
- Hatch pets when the training multiplier will repay the egg cost before your next major TNT or area purchase.
- Push the black-wall Cash unlock from Dirt into deeper mines once runs feel trivial.
Controls stay the same across every tier decision: WASD, Space, E, number keys for TNT or flint, Left Mouse Button to train or use tools.
Keep lists honest after patches
Slap Core Games can retune shop prices, pet multipliers, or Rebirth thresholds. When Updates land, re-check whether an S-tier bomb is still the breakpoint buy or whether a new egg line outscales older pets. For free Cash that changes tier timing, watch the Codes Hub. For the full beginner loop before you optimize spends, read Getting Started.
Detailed rankings live on the child pages—open TNT Blocks and Pets next so your Cash plan matches the current meta instead of random shop clicks.
Frequently Asked Questions
Quick answers to the most common questions.
What does this Tier List Hub cover?
Progression rankings for TNT base Damage tiers and pet training multipliers in +1 TNT Mining, plus guidance on buying versus upgrading versus Rebirth.
Is S-tier always the next purchase?
Not if you cannot afford it yet. Buy the best on-curve A-tier TNT or the upgrade that removes your bottleneck, then save for the S-tier jump.
Do Rebirths change the tier list?
Rebirth keeps TNT unlocks and upgrades, so owned bombs stay relevant. Higher Damage-gain multipliers make training—and pet value—stronger after each reset.
Where should new players start?
Skim this hub, then read the TNT Blocks list for shop priorities and the Pets list before heavy egg spending. Pair both with Getting Started.